
TEST KNIT for cable snood
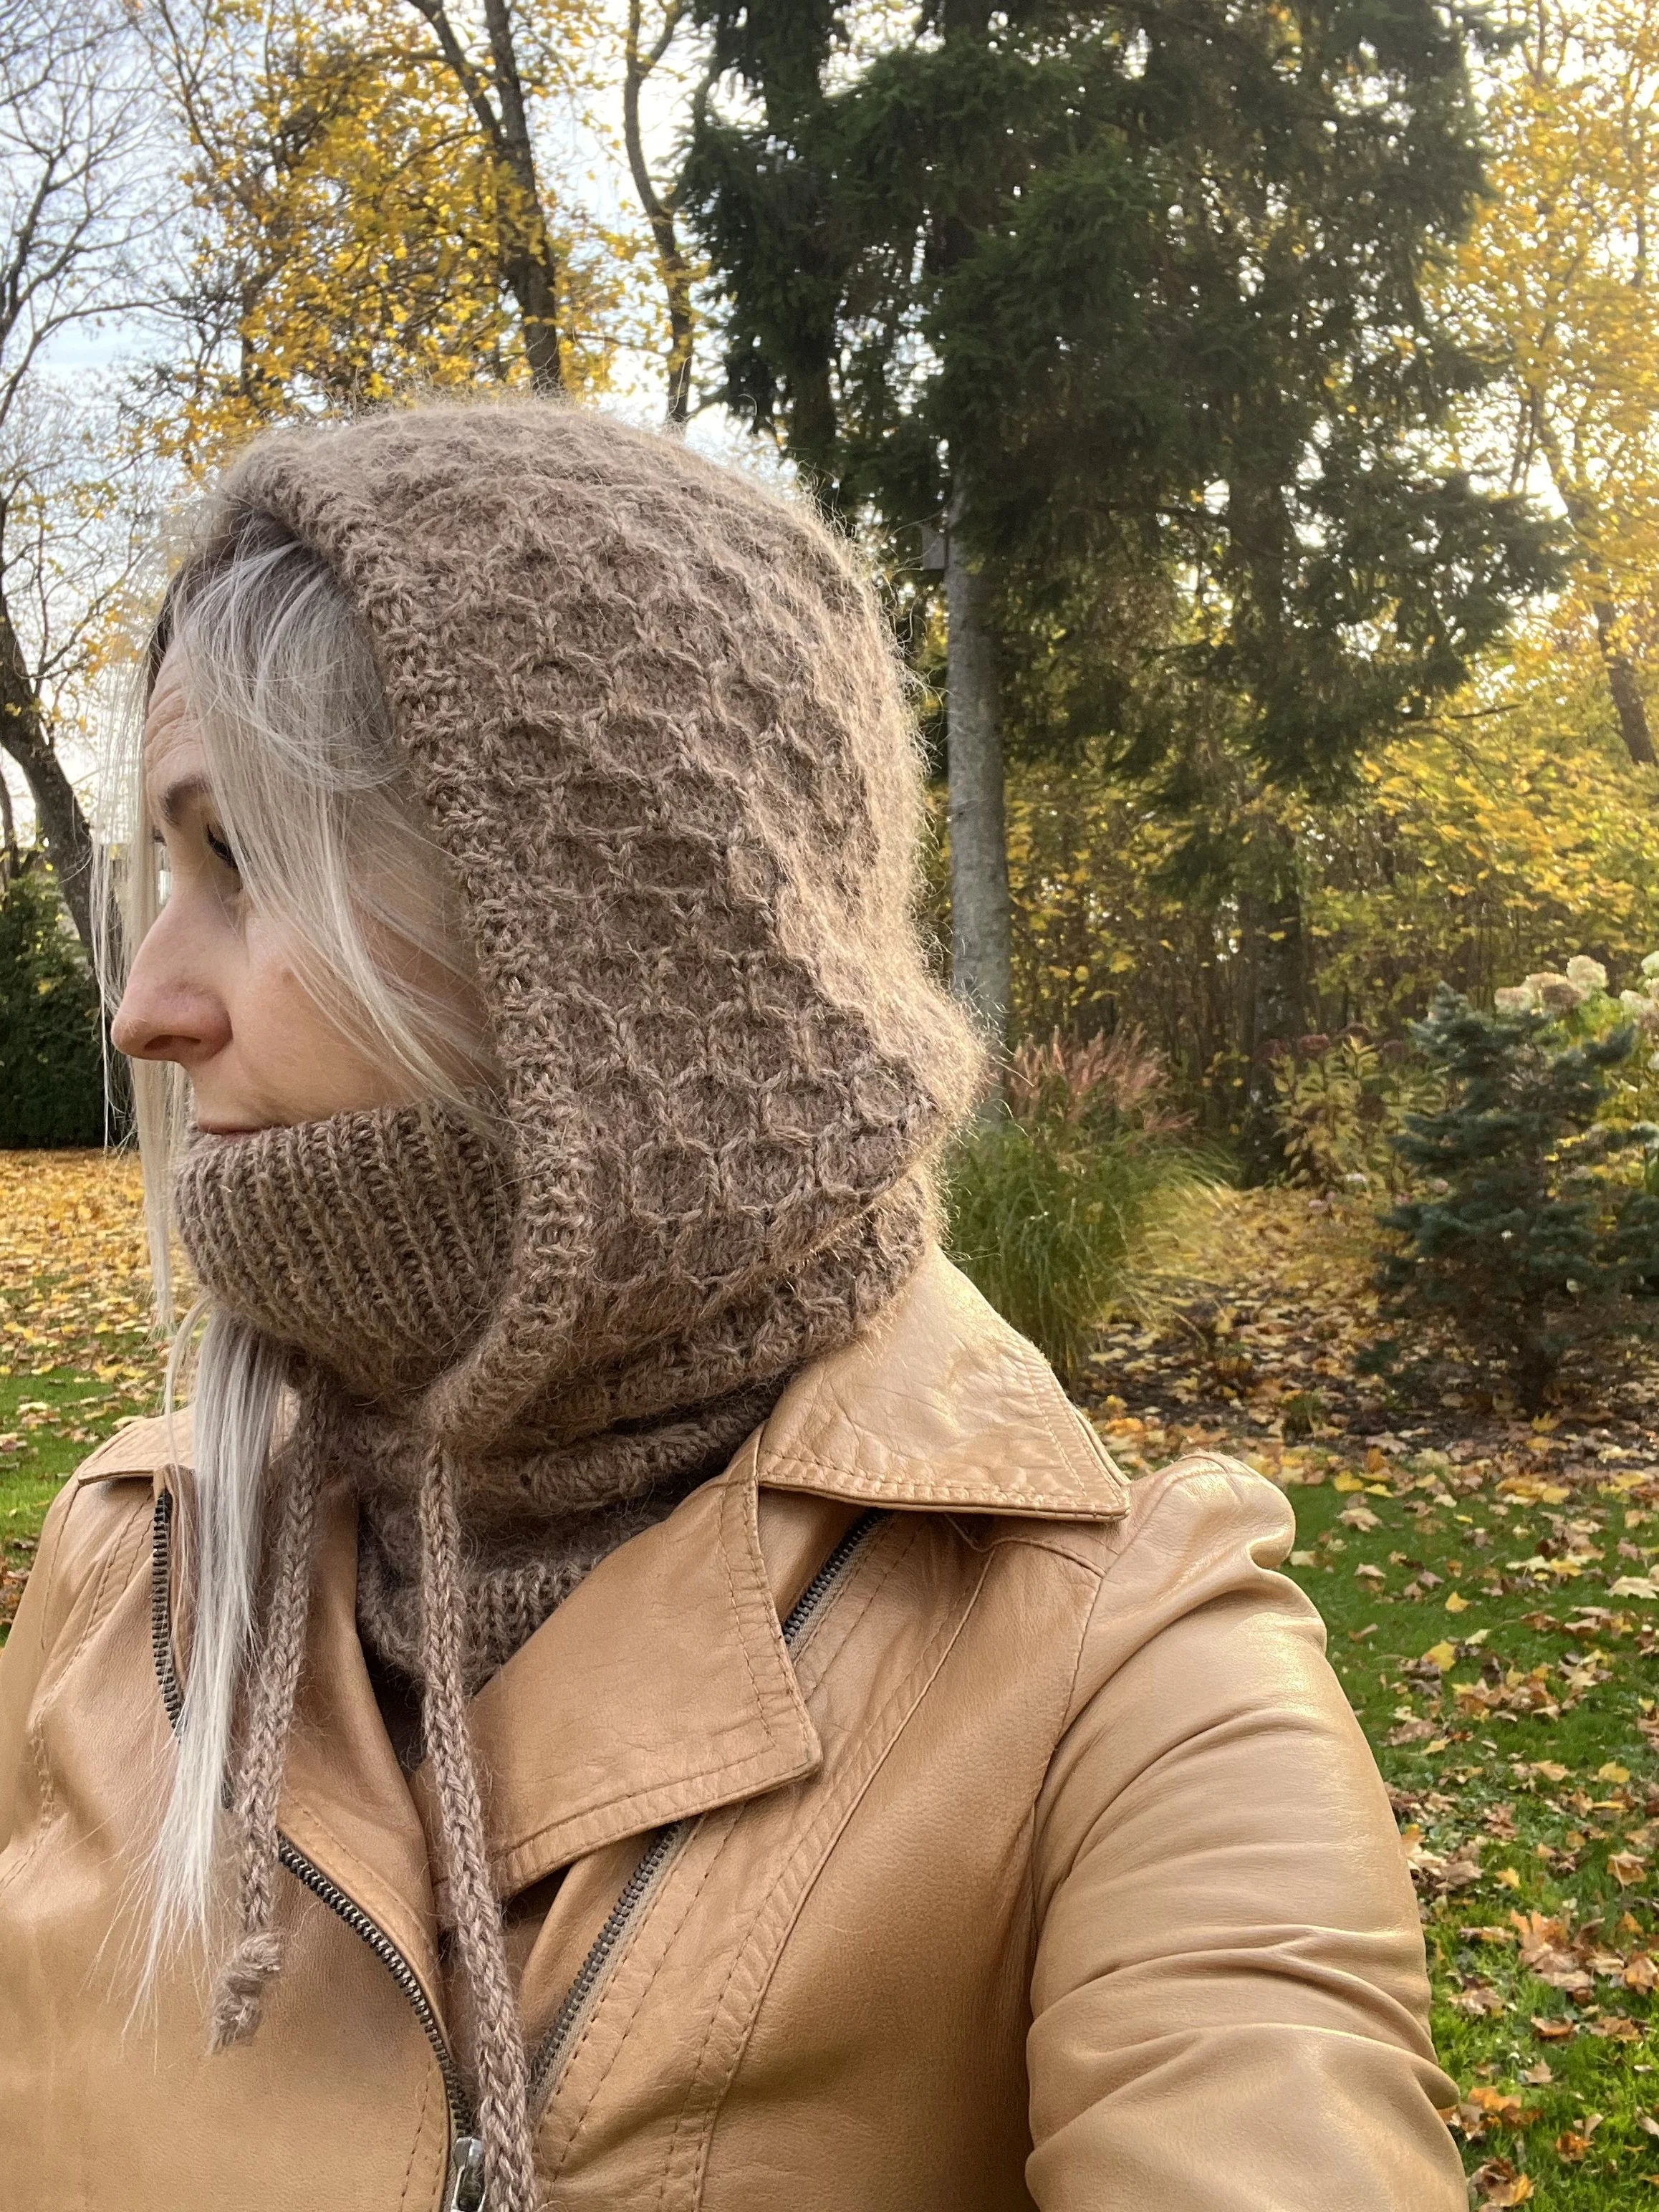
Test brief
I am looking for test knitters for my new snood pattern and would love your help bringing it to life. If you are interested in joining, here are the expectations for this test knit:
Timeline: Complete the finished snood within a 1-month timeframe.
Feedback: Review the pattern for clarity, point out any confusing sections or typos, and track your exact yarn usage (yardage or meterage).
Gauge: Check your gauge before starting and ensure it matches the pattern requirements.
Photos: Provide clear, well-lit photos of your finished piece (either worn or a nice flat lay) before the deadline.
Communication: Share your progress, ask questions, and submit your final feedback through our designated forum (will share the link)
Compensation: You will receive the final pattern + additional 3 Muki Crafts patterns you like
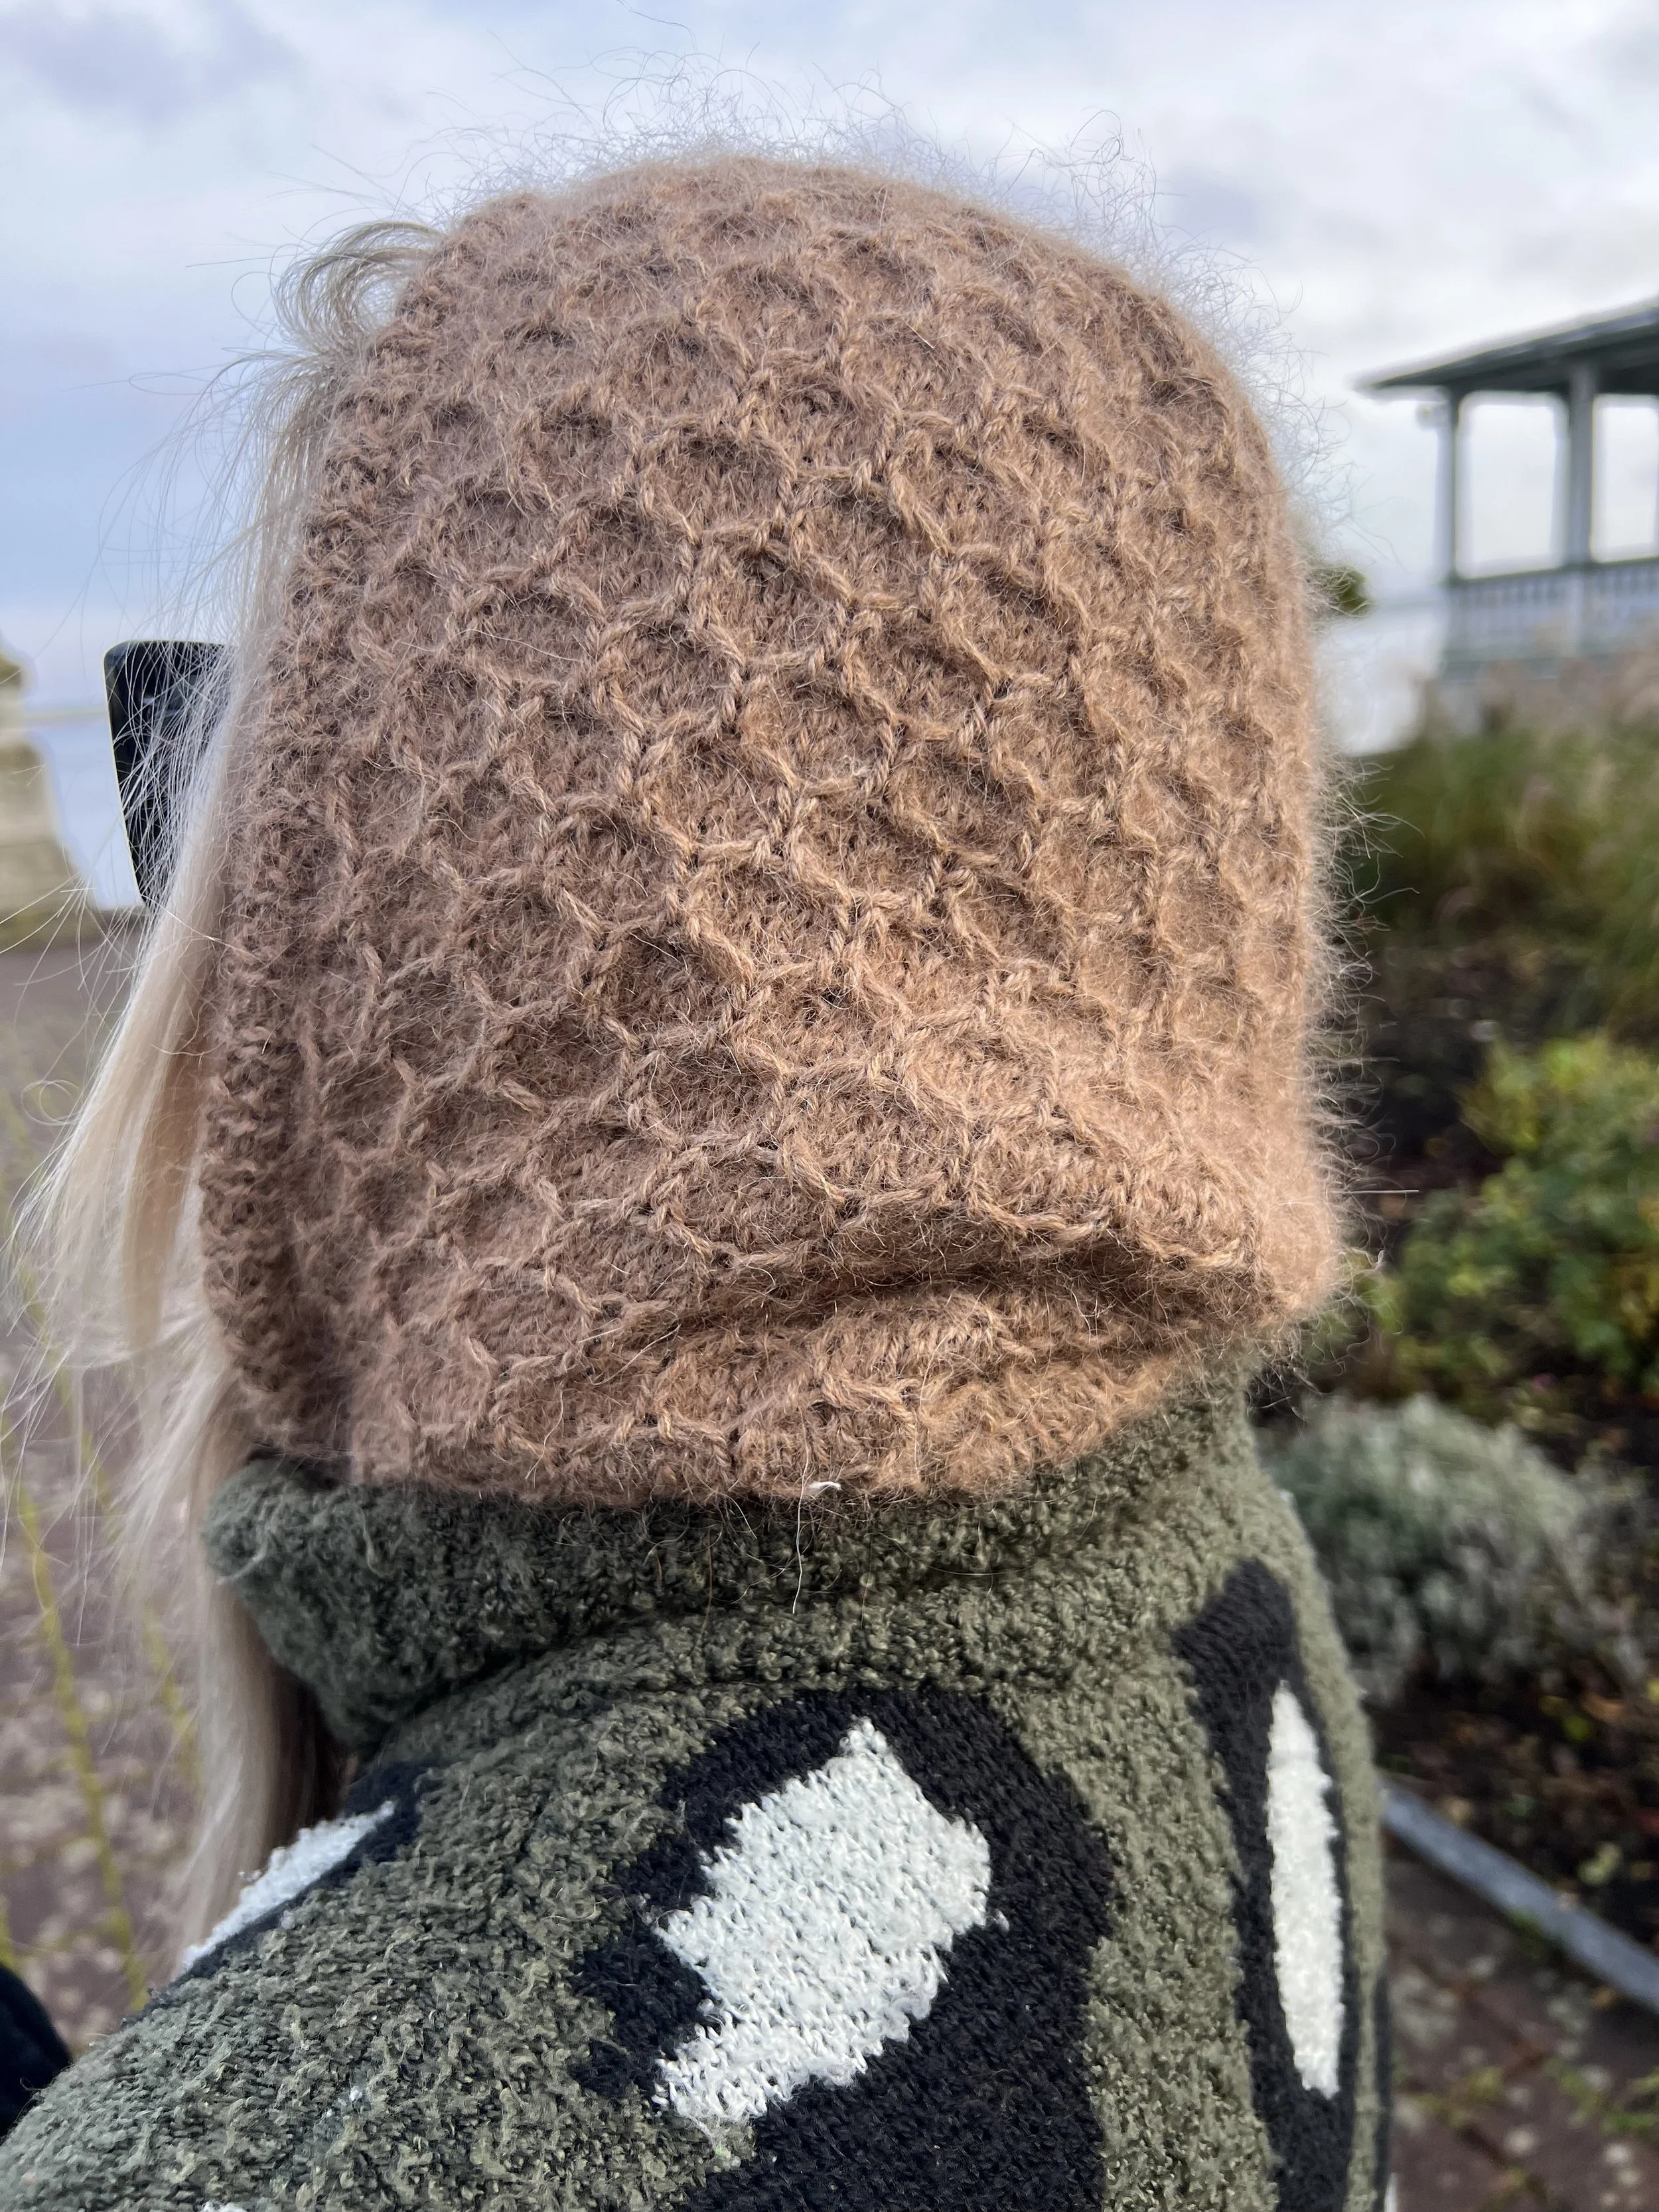
About the snood
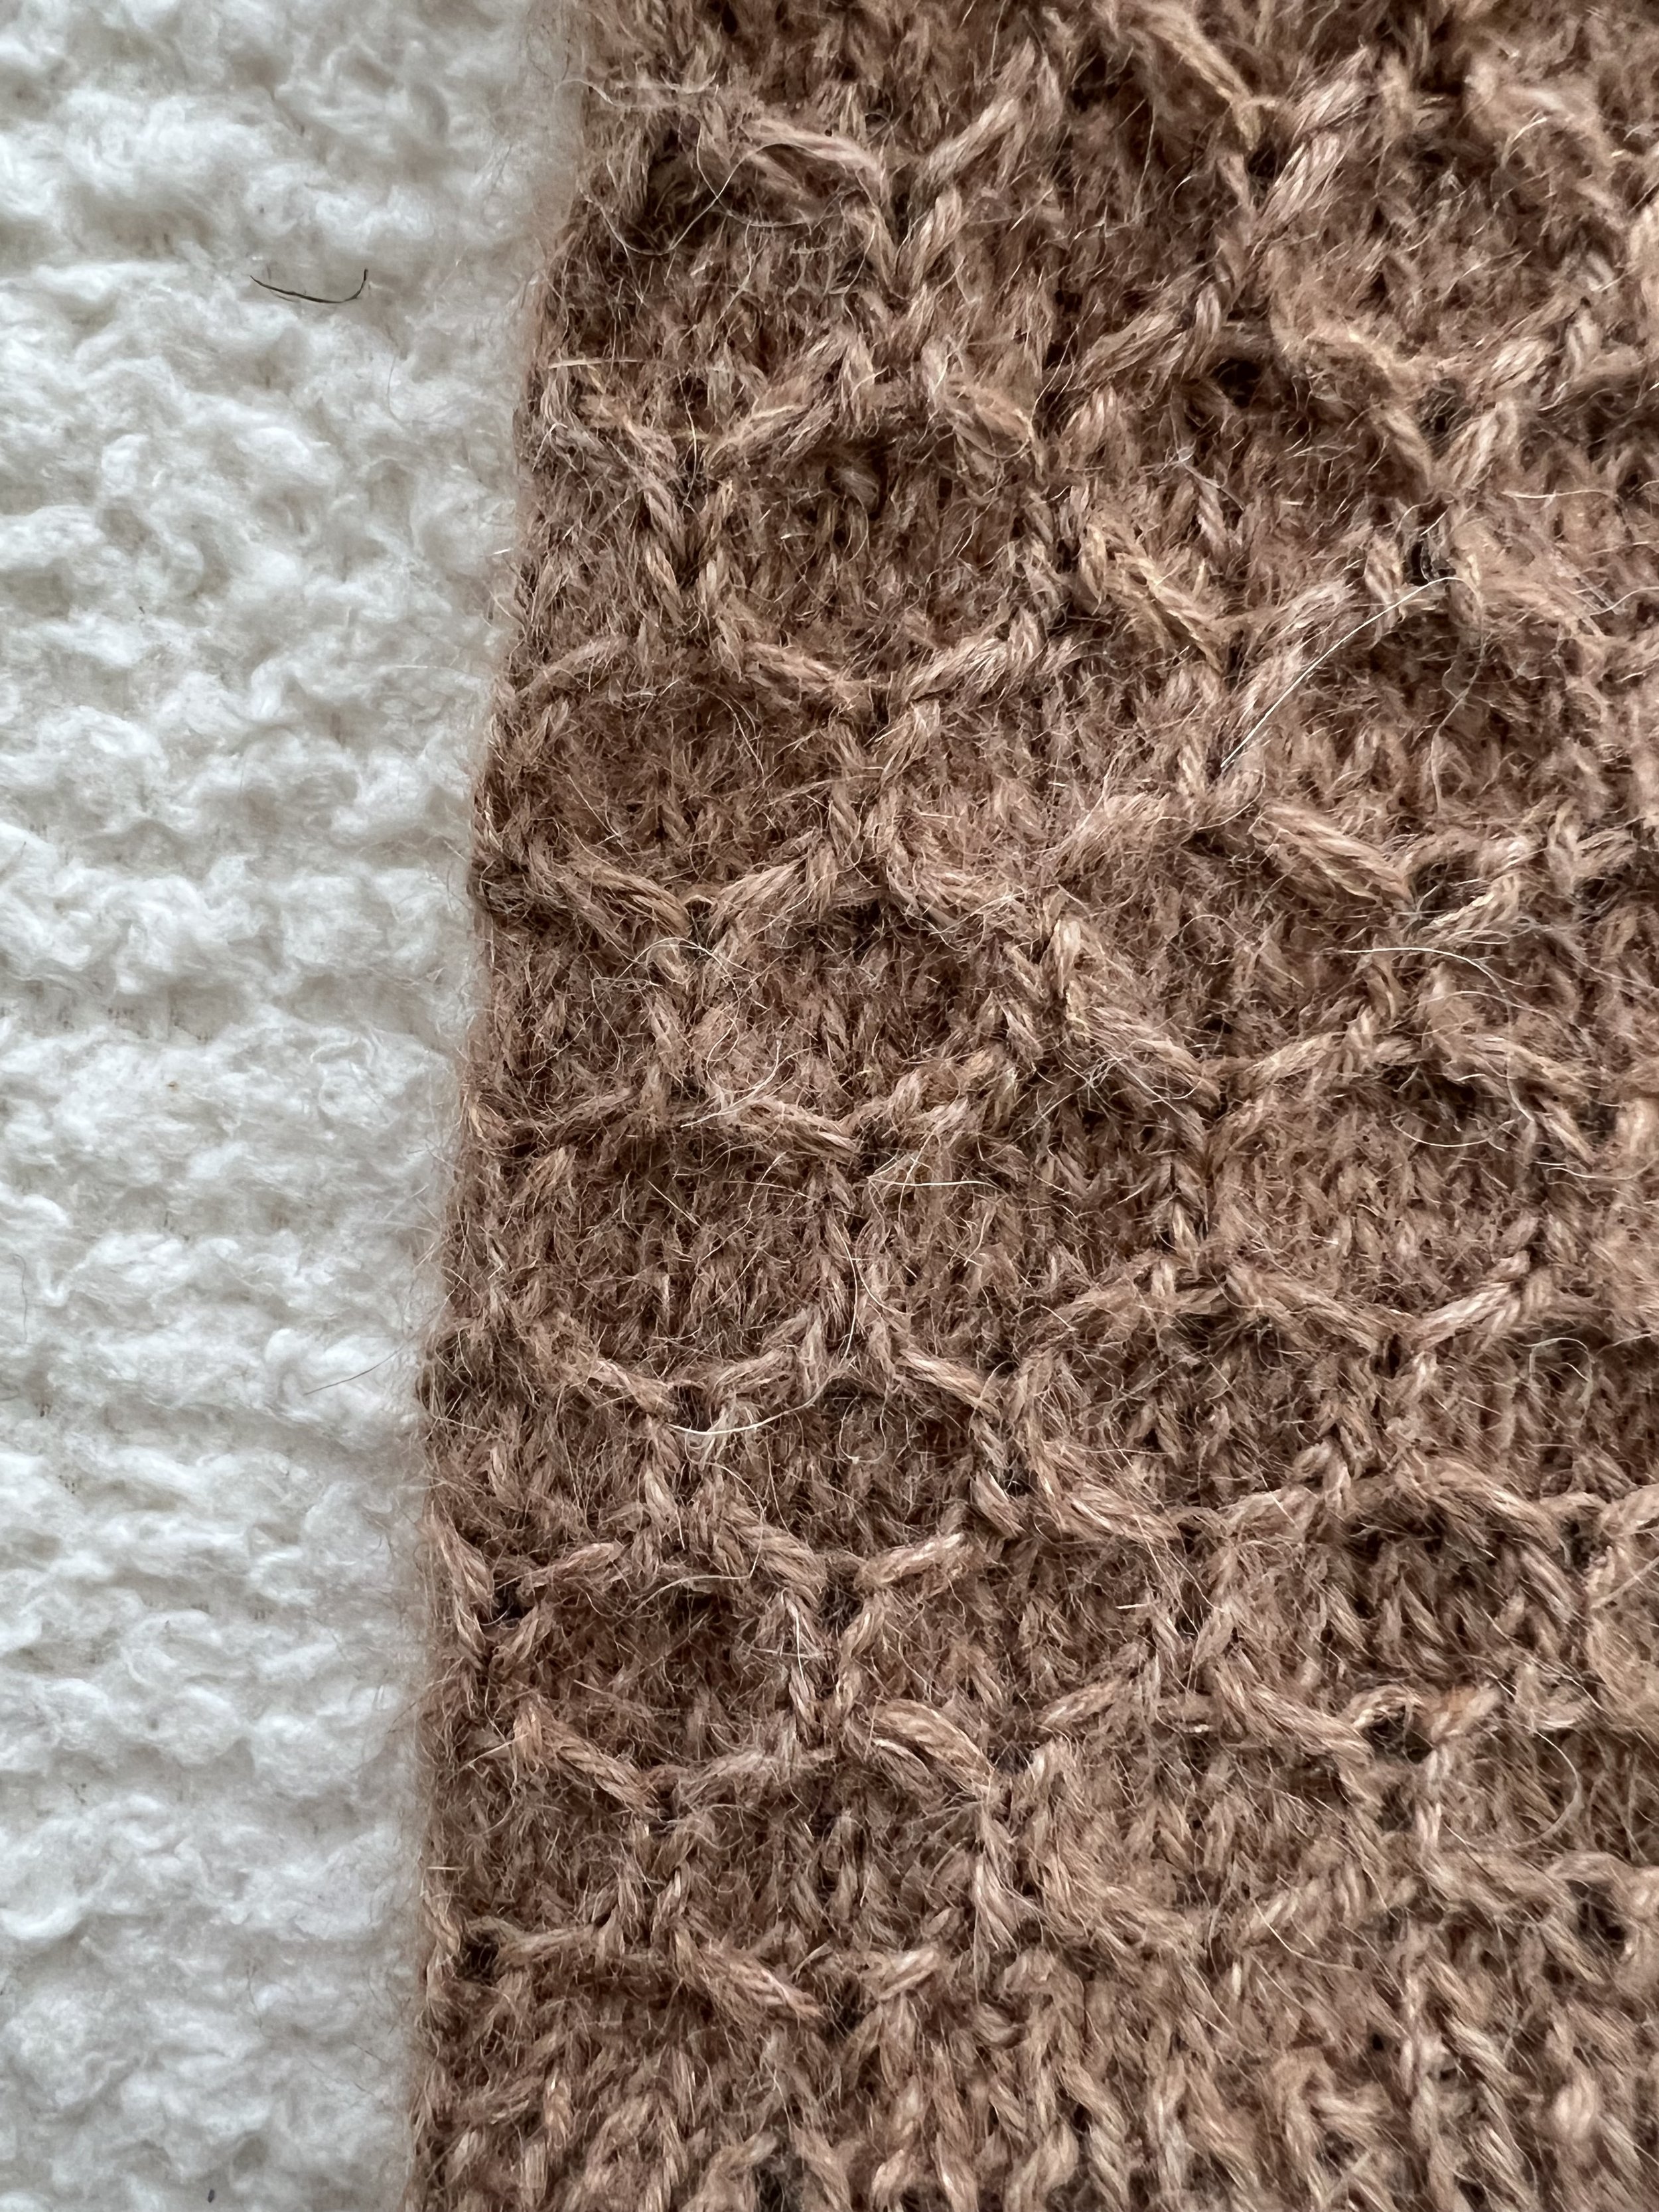
The Cable snood is an Advanced skill level snood that is knitted seamlessly top down with Worsted weight yarn.
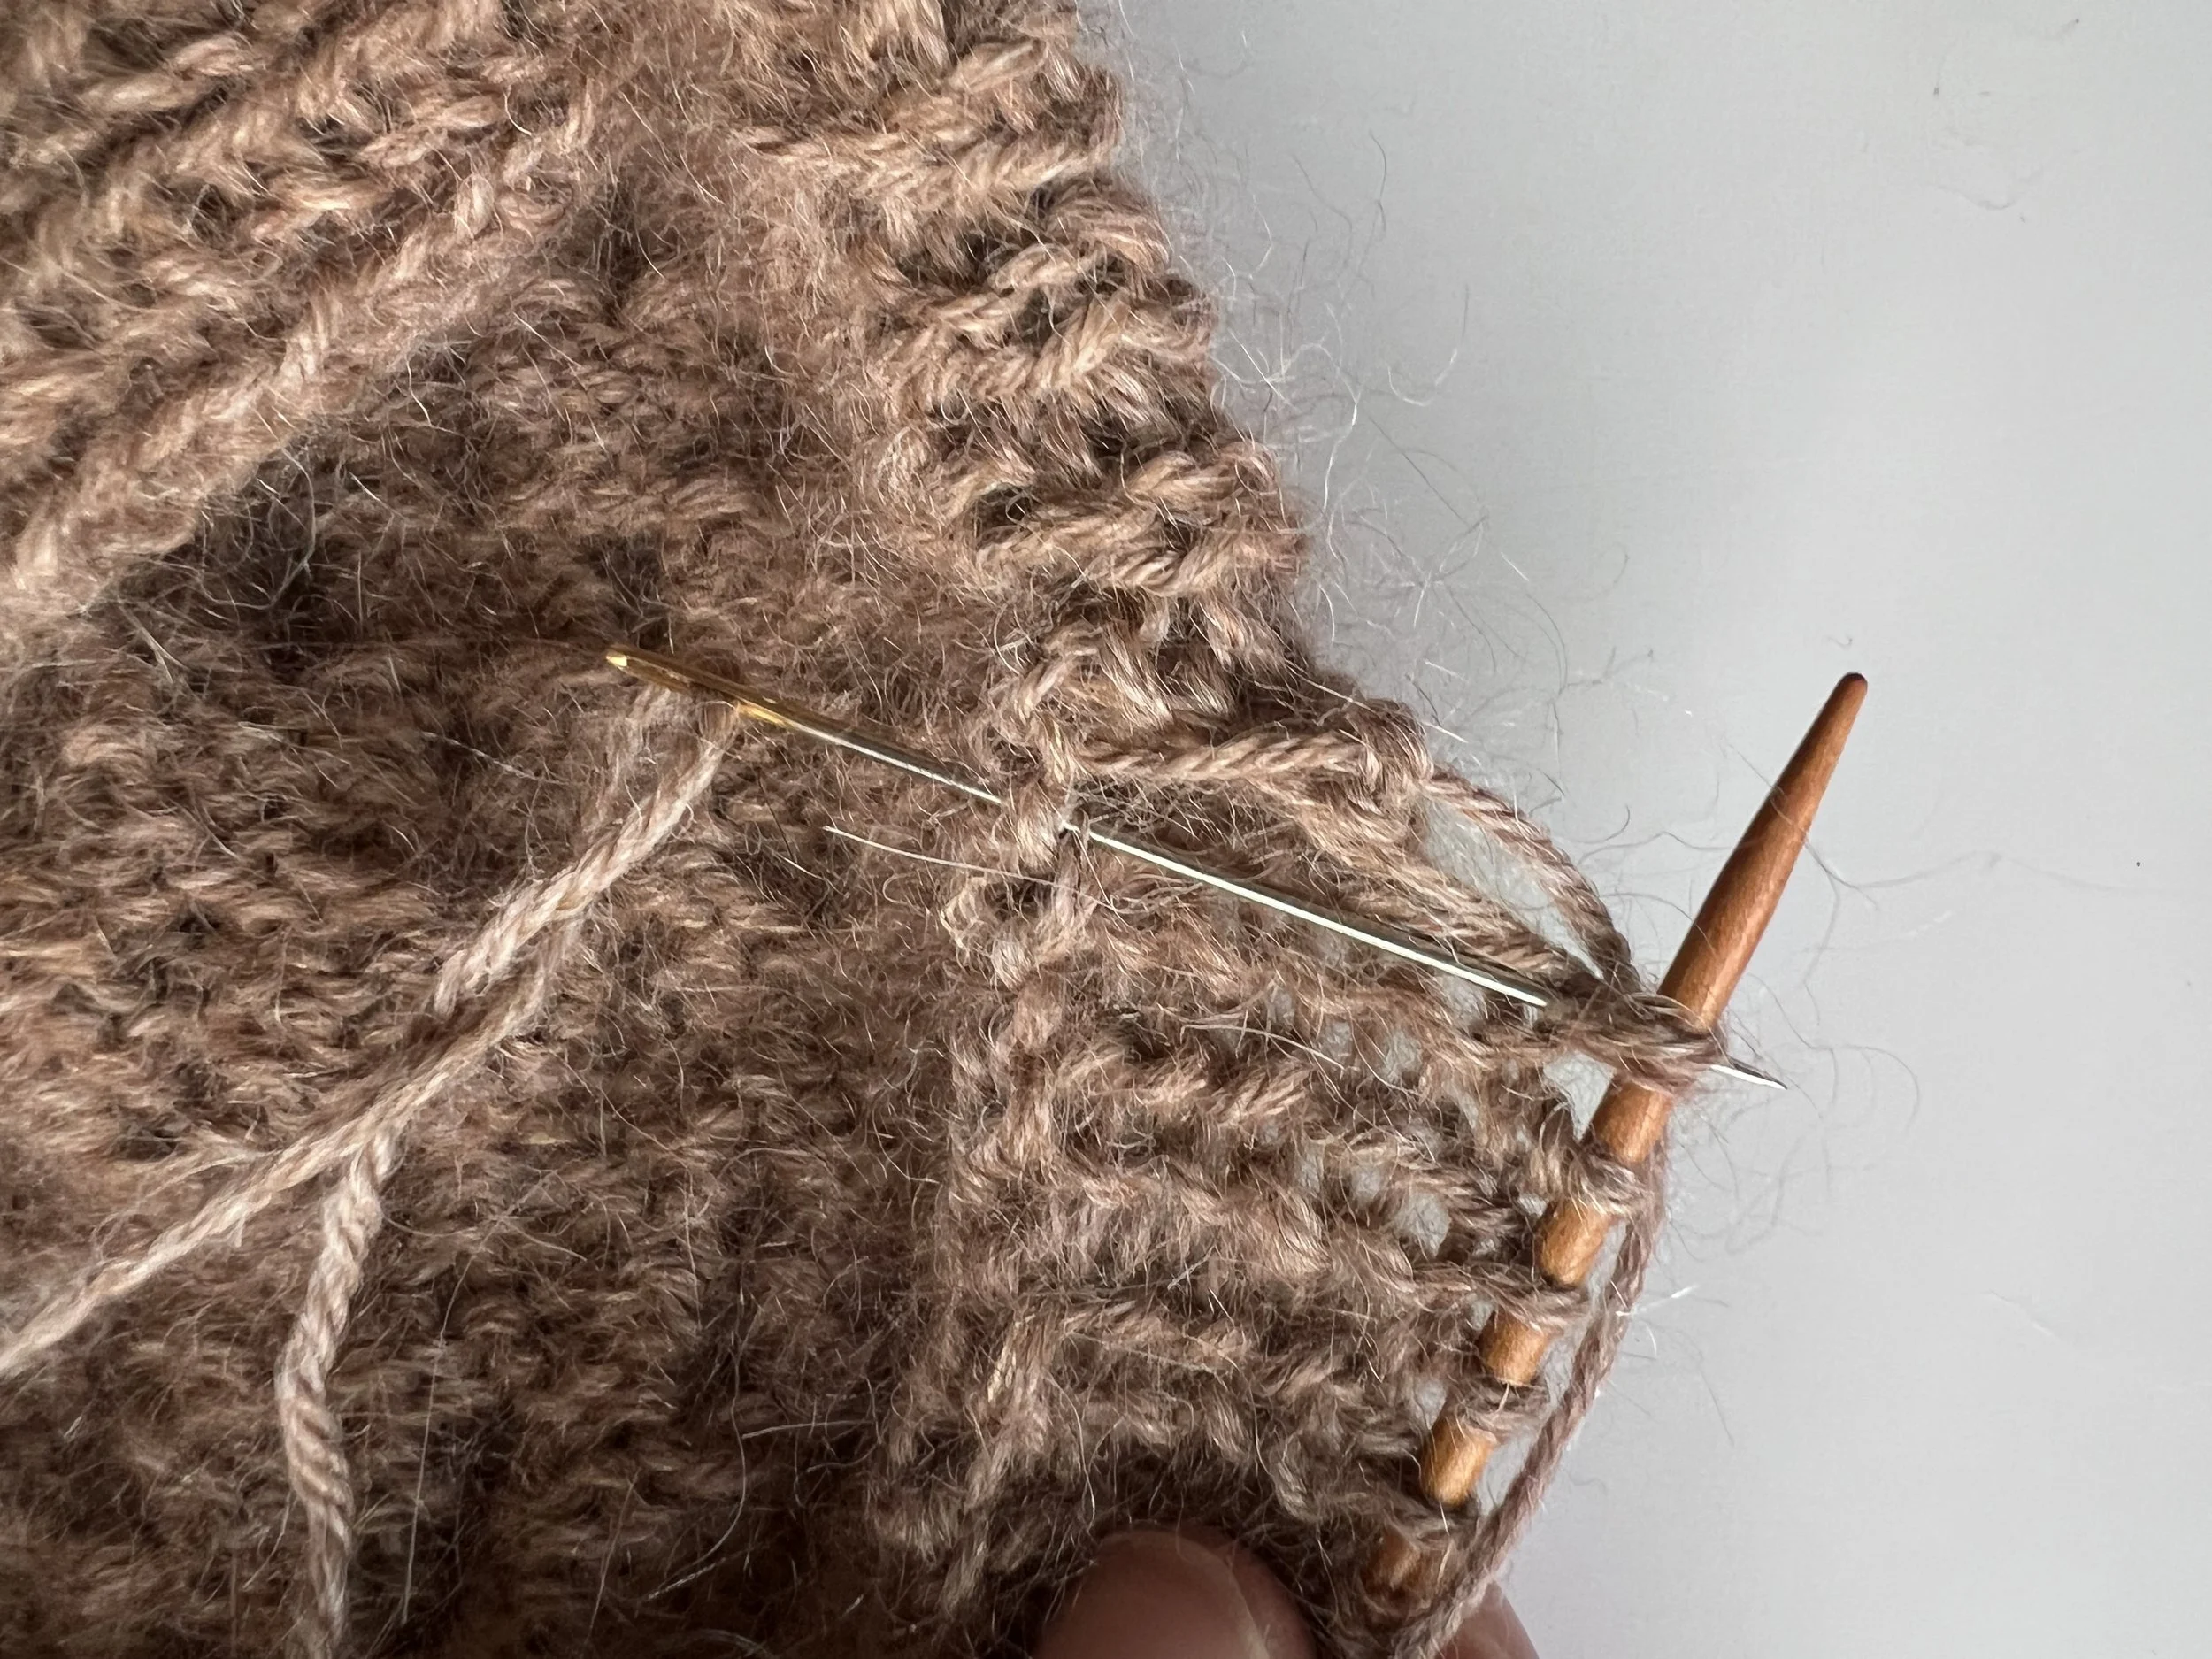
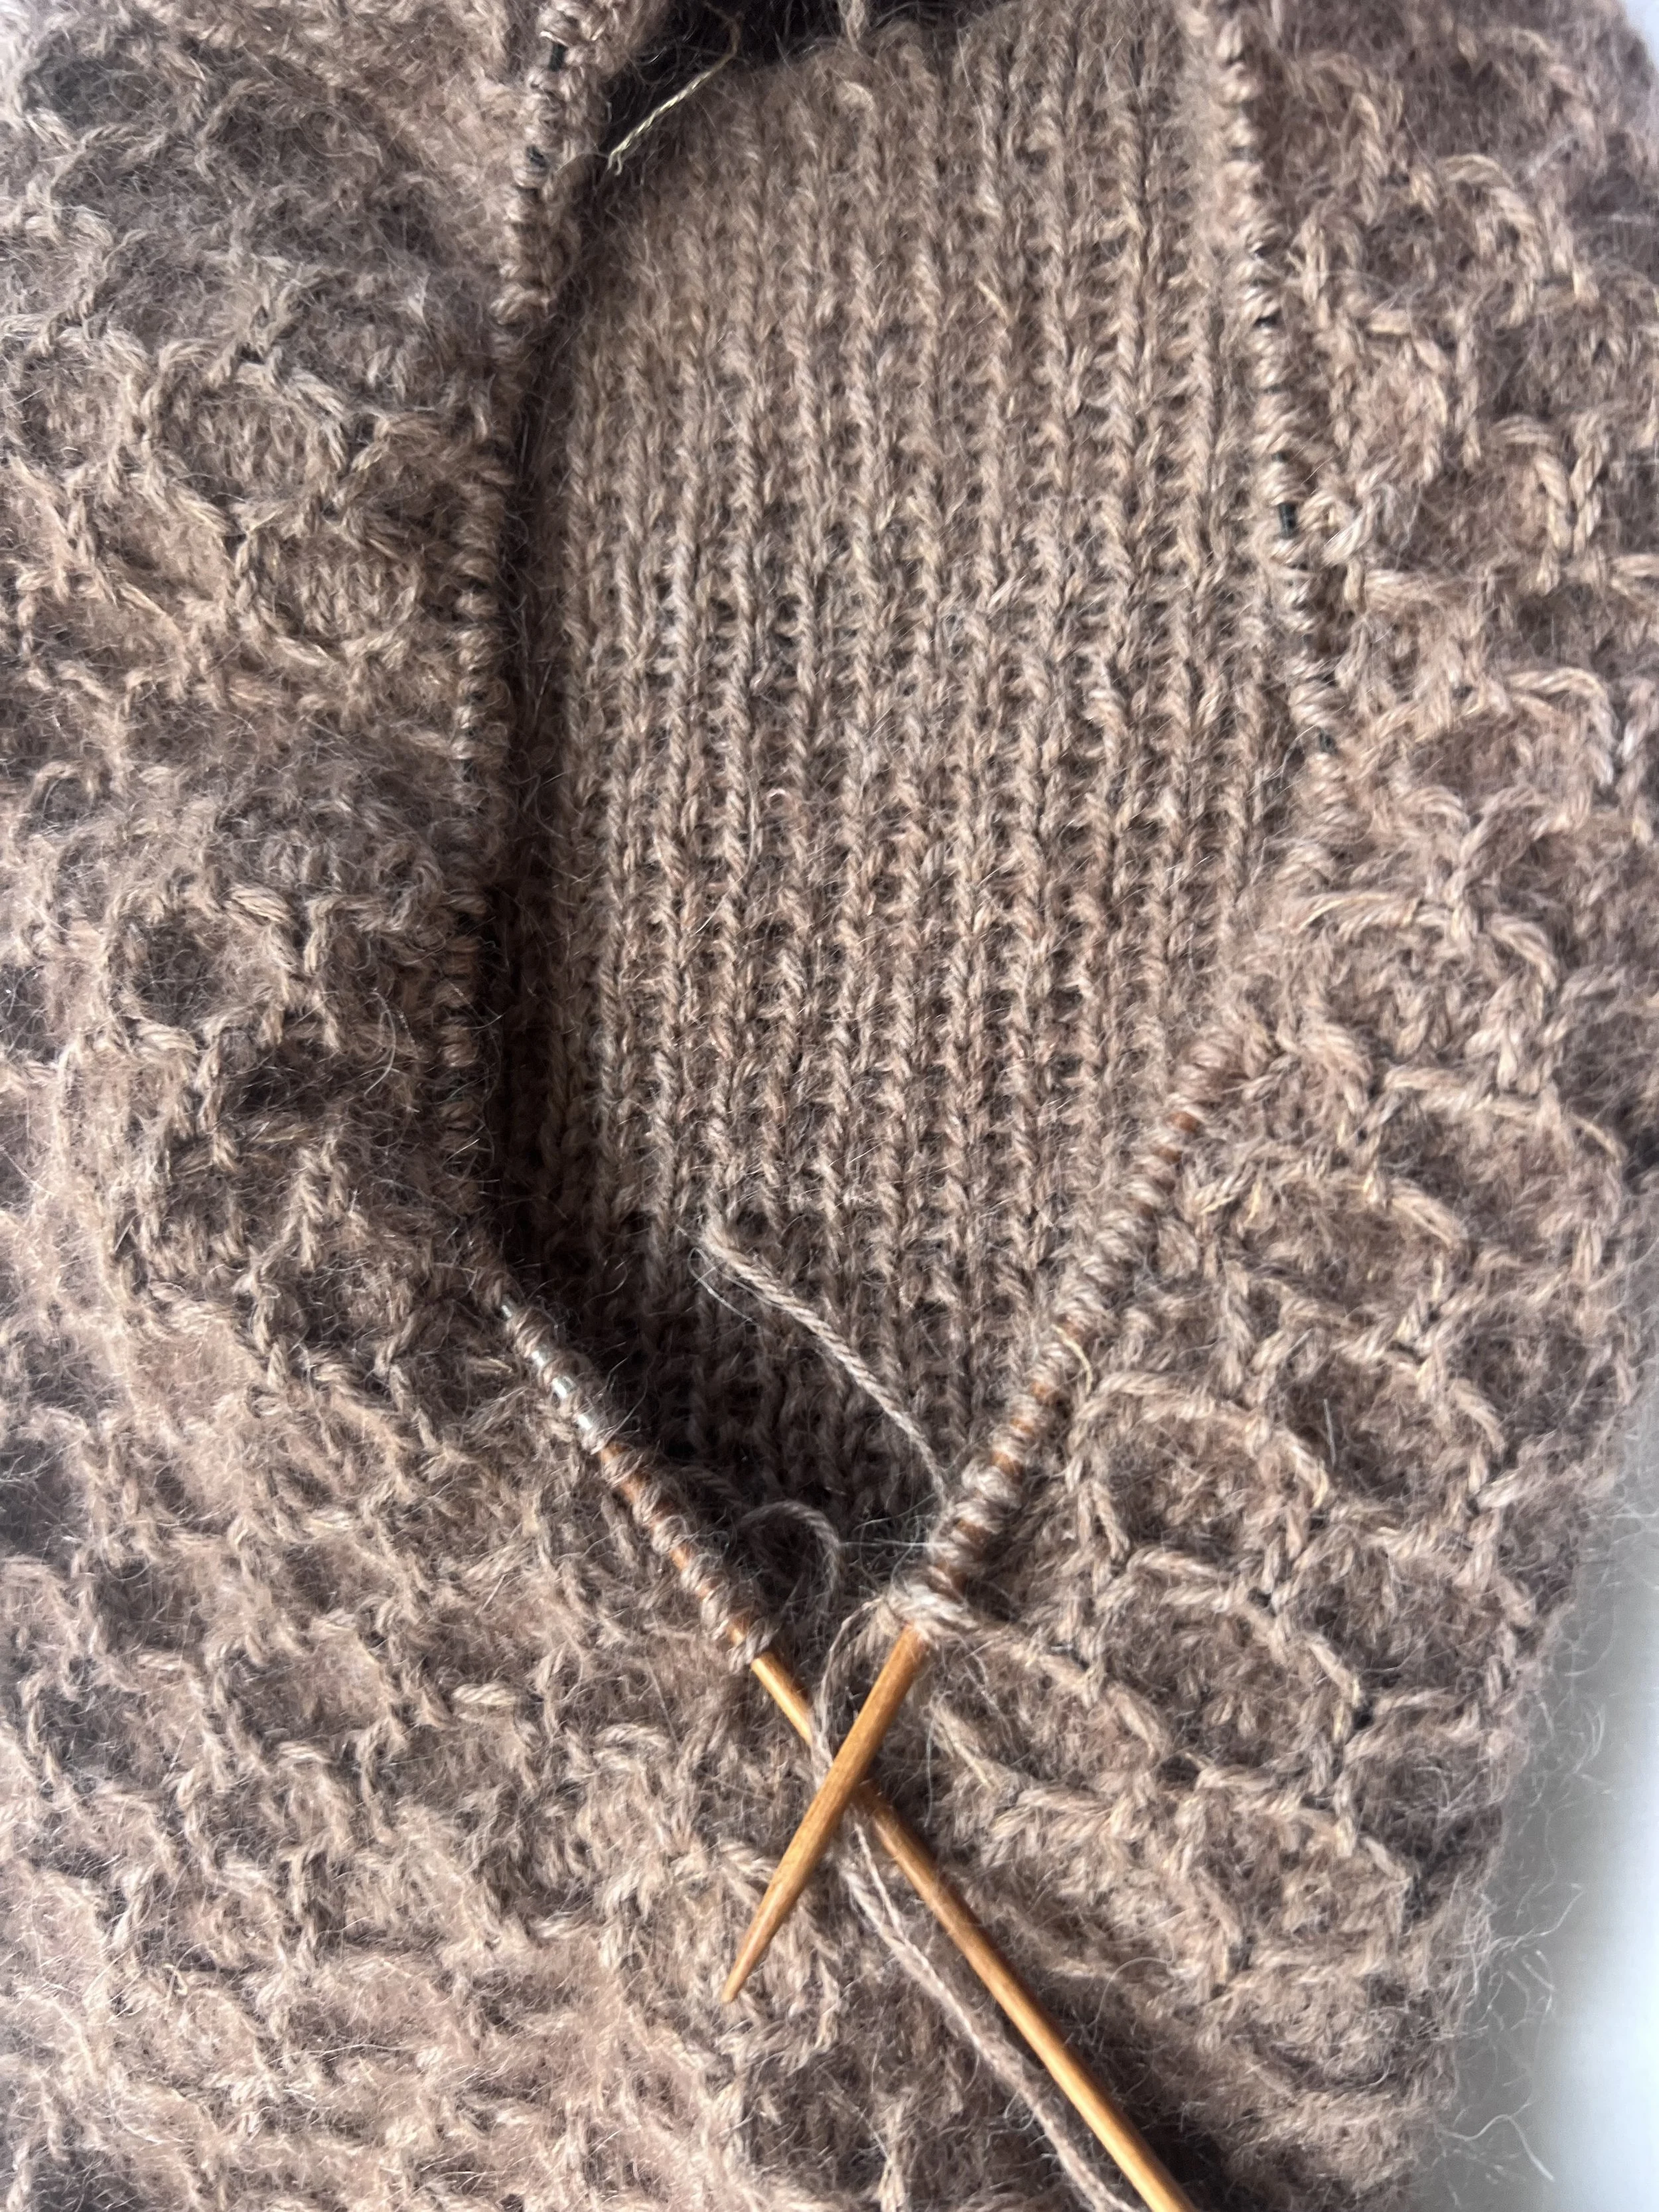
The project begins with the Inner Cowl, worked in the round. The Hood is started separately as a flat rectangular piece (top of the head), then stitches are picked up along the sides to form the shape.. Finally, the hood is joined to the main piece. Outer cowl is in one layer and knitted top down ended with ribbing.
Sizing:: The snood comes in one size and is designed with about 3.15” (8 cm) of negative ease to stretch over a head with 22” (56 cm).
One size (length x cowl circumference): 20.08”x 20.47” (51 x 52 cm)
Gauge: 4” x 4” (10 cm x 10 cm) = 18 sts x 22 rows (in stockinette stitch) after washing and blocking
Yarn:
Worsted (10 ply; no 4: Medium)
Yardage: about 550 yards or 250 grams
Yarn Used in the Sample:Two yarns held together:
DROPS Kid-Silk Color: 42
With DROPS Puna, Color: 17
Needles:
Choose needle size that allows you to achieve the correct gauge (see below). The following are suggested sizes:
Main needle:
4.5 mm circular needle, 40 cm (16")
→ US size 7
Optional: One size smaller circular needle for the inner cowl
Two double pointed needles for the i-cord in the same size as your main needles:
4.5 mm double pointed needles,
→ US size 7
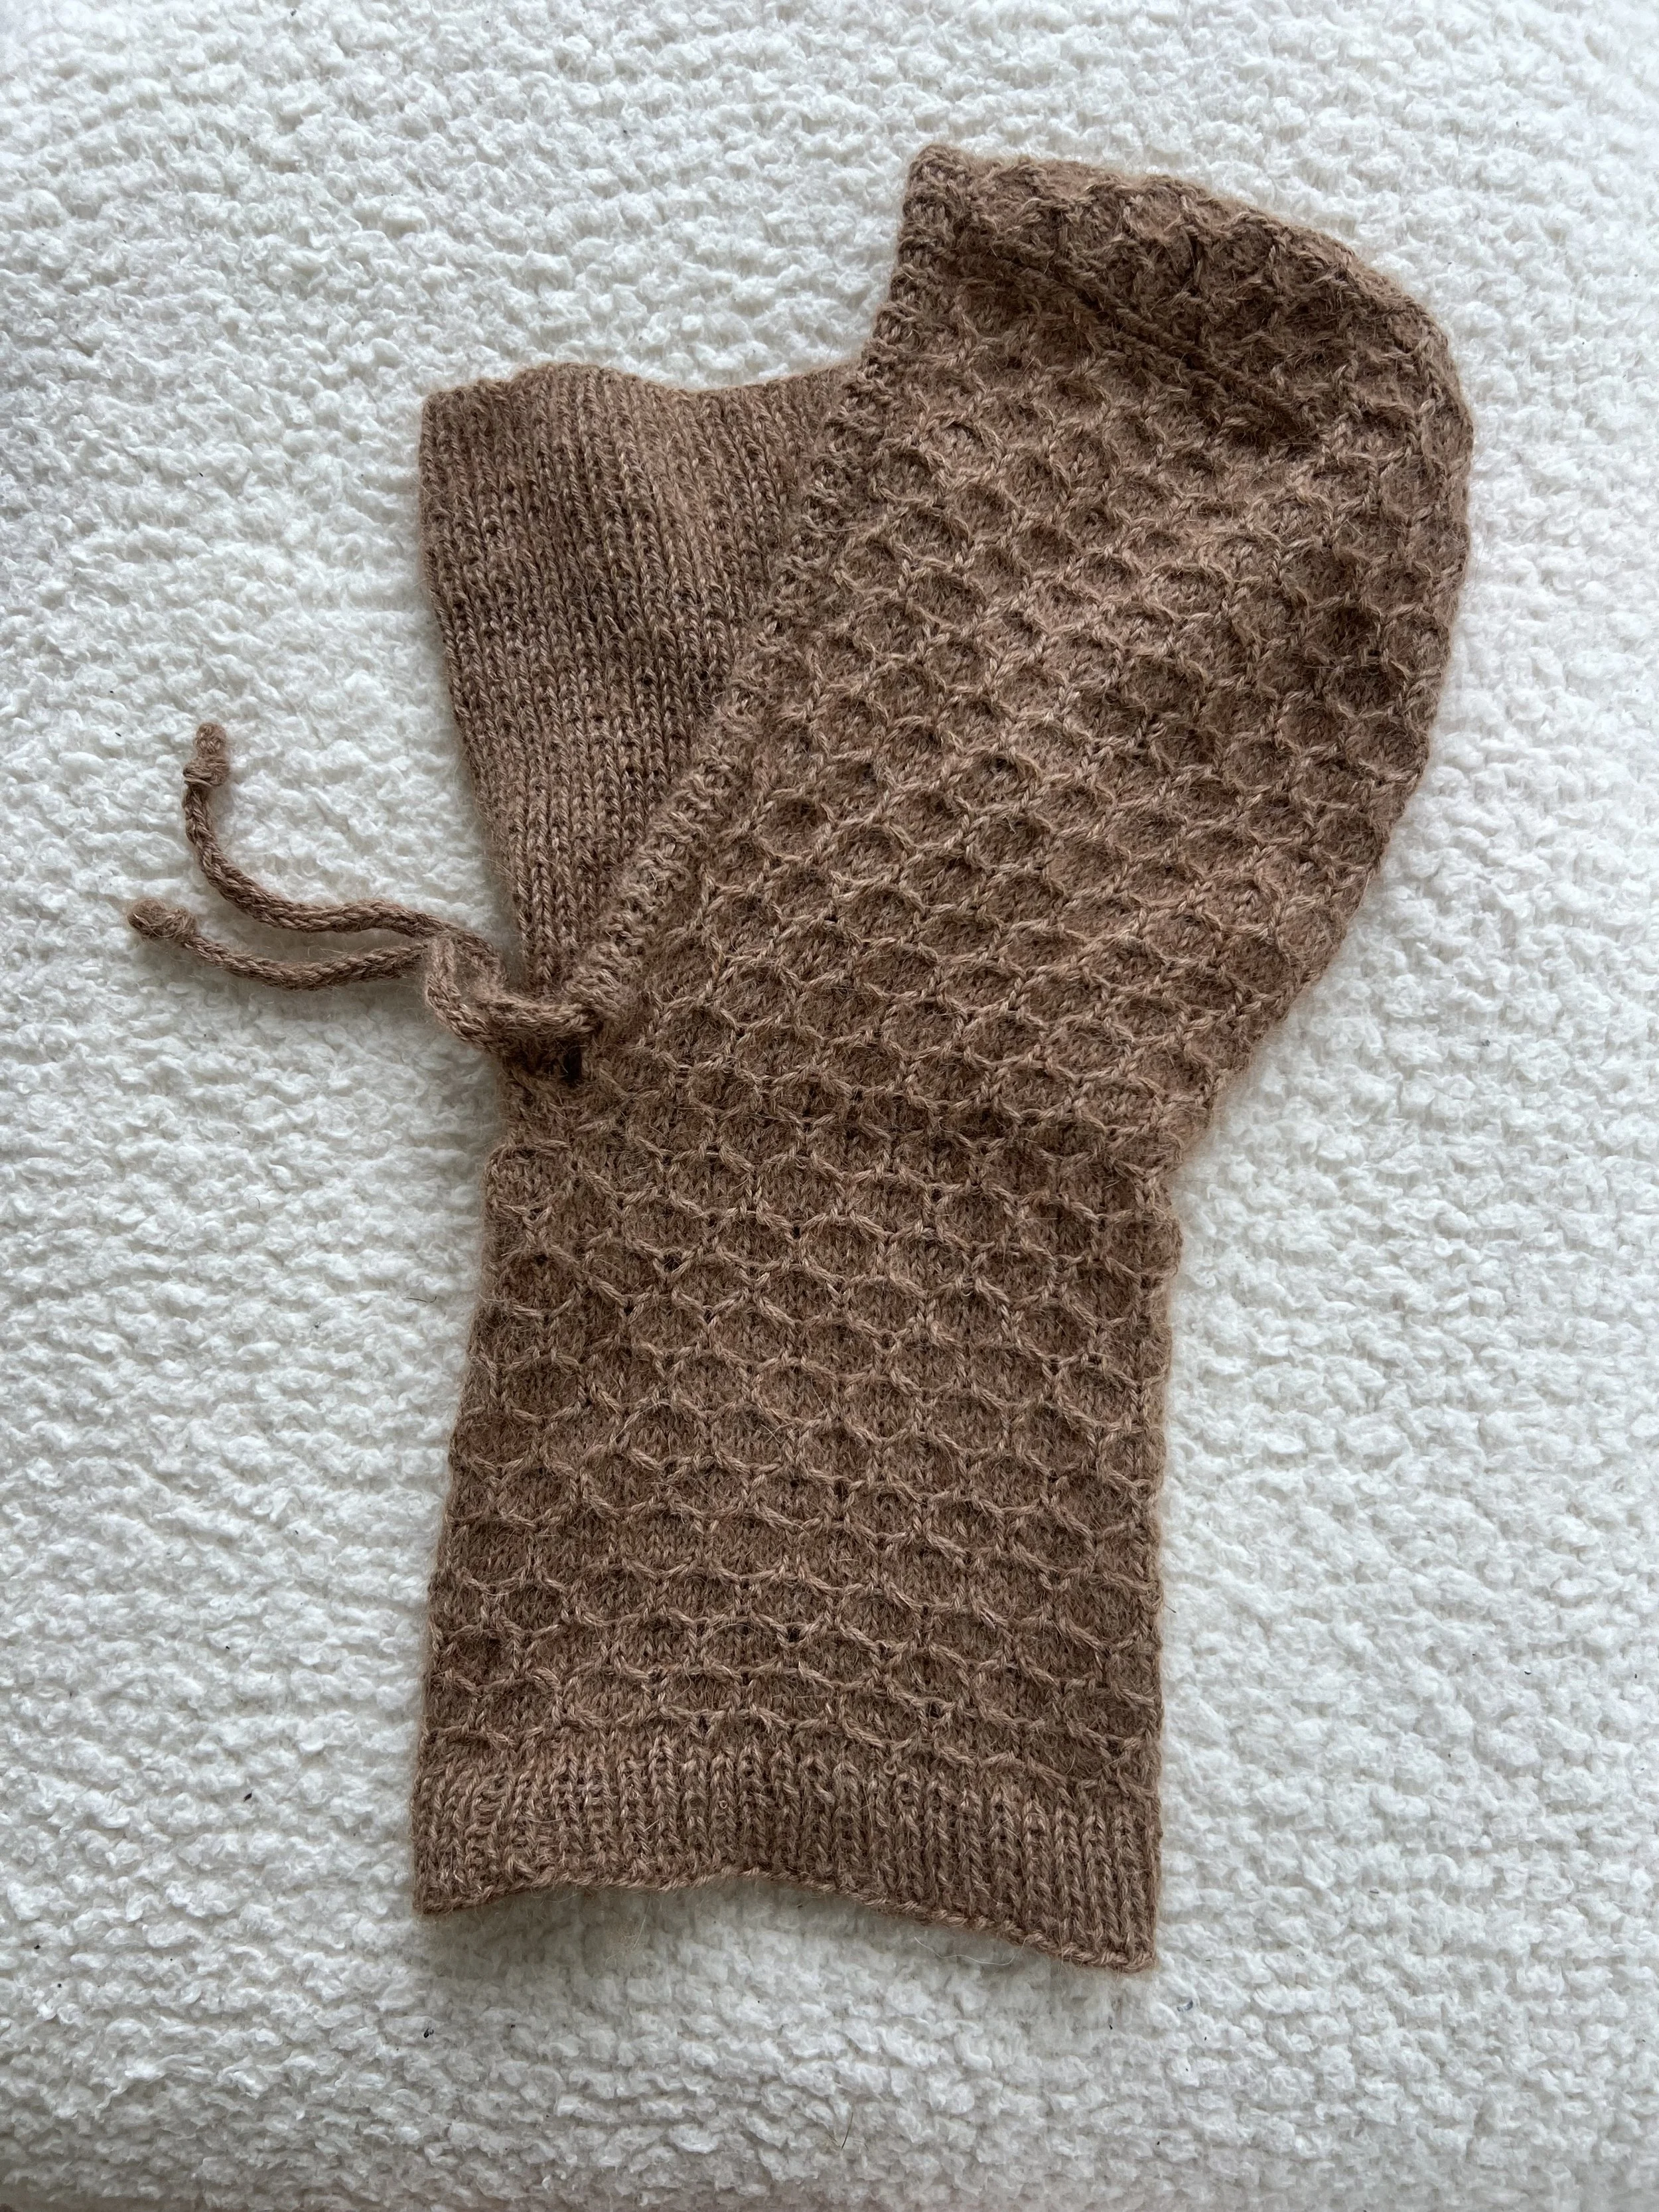
Help me bring this design to life!
ABBREVIATIONS
K: Knit
P: Purl
St(s): Stitch(es)
RS: Right Side
WS: Wrong Side
PM: Place Marker
Sl: Slip one stitch with yarn held at the back
Passo: Pass slipped stitch over
P1tbl: Purl through the back loop:
Yarn in front: Bring your working yarn to the front of your work, just as you would for a regular purl stitch.
Insert the needle: Insert the tip of your right needle from left to right (and slightly back to front) into the back leg of the first stitch on your left needle.
Wrap the yarn: Wrap the yarn around the right needle exactly as you normally would for a purl.
Pull through: Draw the yarn through the stitch to create a new loop on your right needle.
Drop the stitch: Slip the old stitch off the left needle.
K1tbl: Knit through the back loop:
1. Yarn in back: Ensure your working yarn is at the back of your work, just as you would for a regular knit stitch.
2. Insert the needle: Insert the tip of your right needle from right to left into the back leg of the first stitch on your left needle.
3. Wrap the yarn: Wrap the yarn around the right needle exactly as you normally would for a knit.
4. Pull through: Draw the yarn through the stitch to create a new loop on your right needle.
5. Drop the stitch: Slip the old stitch off the left needle.
C3R: Cable 3 Right:
Slip next 2 stitch onto a cable needle.
Hold the cable needle at the back of your work.
Knit the next stitch directly from your left knitting needle.
Knit the 2 stitches off of the cable needle.
C3L: Cable 3 Left:
Slip the next stitch onto a cable needle.
Hold the cable needle at the front of your work.
Knit the next 2 stitches directly from your left knitting needle.
Knit the 1 stitch off of the cable needle.
K2tog: Insert the right needle through the next two stitches on the left needle (as if to knit) and knit them together as one stitch
Ssk: Slip, Slip, Knit:
1. Slip the first stitch knitwise from the left needle to the right needle.
2. Slip the second stitch knitwise from the left needle to the right needle.
3. Insert the tip of the left needle into the front loops of those two slipped stitches.
4. Knit the two stitches together.
M1R (Make 1 Right): Pick up the bar between stitches from back to front, knit it through the front loop
M1L (Make 1 Left): Pick up the bar between stitches from front to back, knit it through the back loop